An envelope carries two messages at once. One is the address. The other is the plain fact that a person, not a machine, chose to send this particular piece of paper. Mail art lives in the space between them — you decorate freely, but you plan around the postal system's need for a clear, flat, readable front. What follows is a project you can finish at a kitchen table in an evening, using materials that are probably already within arm's reach.
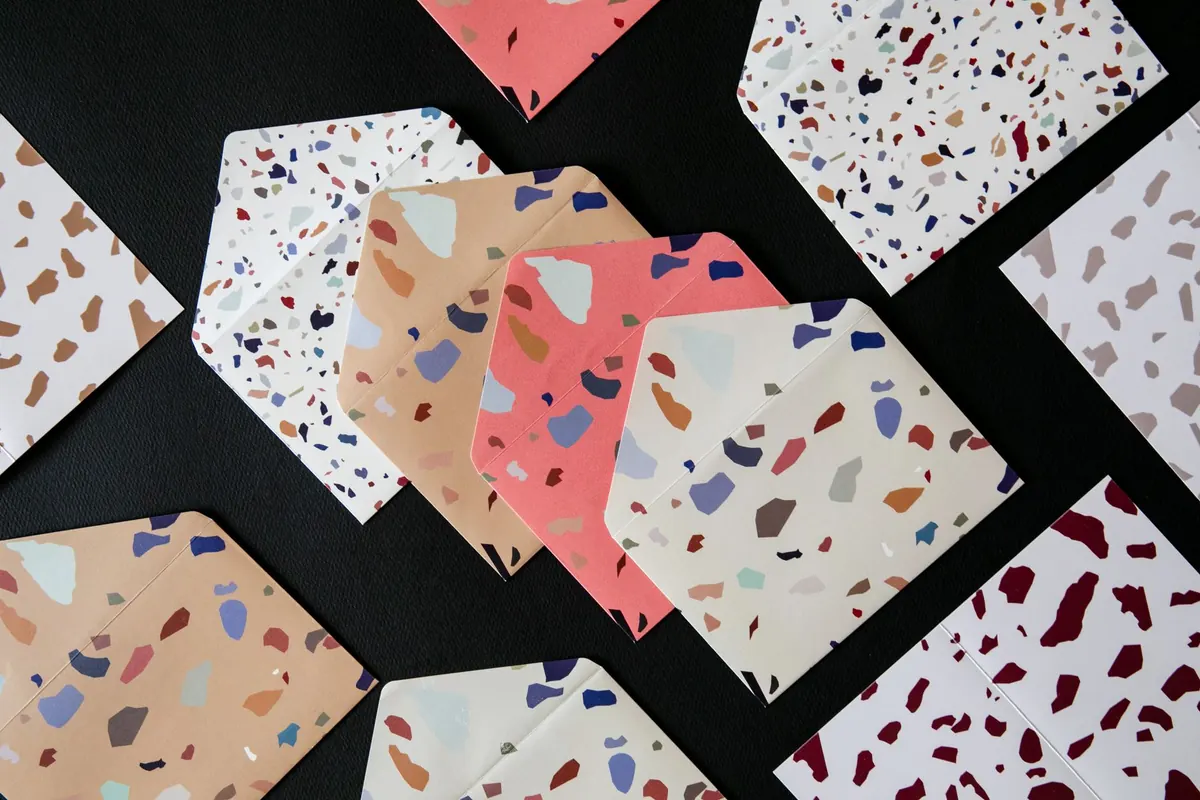
Before a single scrap of paper gets glued down, decide where the address will live. Sorting equipment and mail carriers both need a calm rectangle: roughly four inches wide and an inch and a half tall, sitting in the lower right portion of the front, with at least half an inch of clear paper around it. Many postal operators also reserve the bottom strip of the envelope for sorting marks, so keep that band quiet as well — no dark inks, no dense pattern.
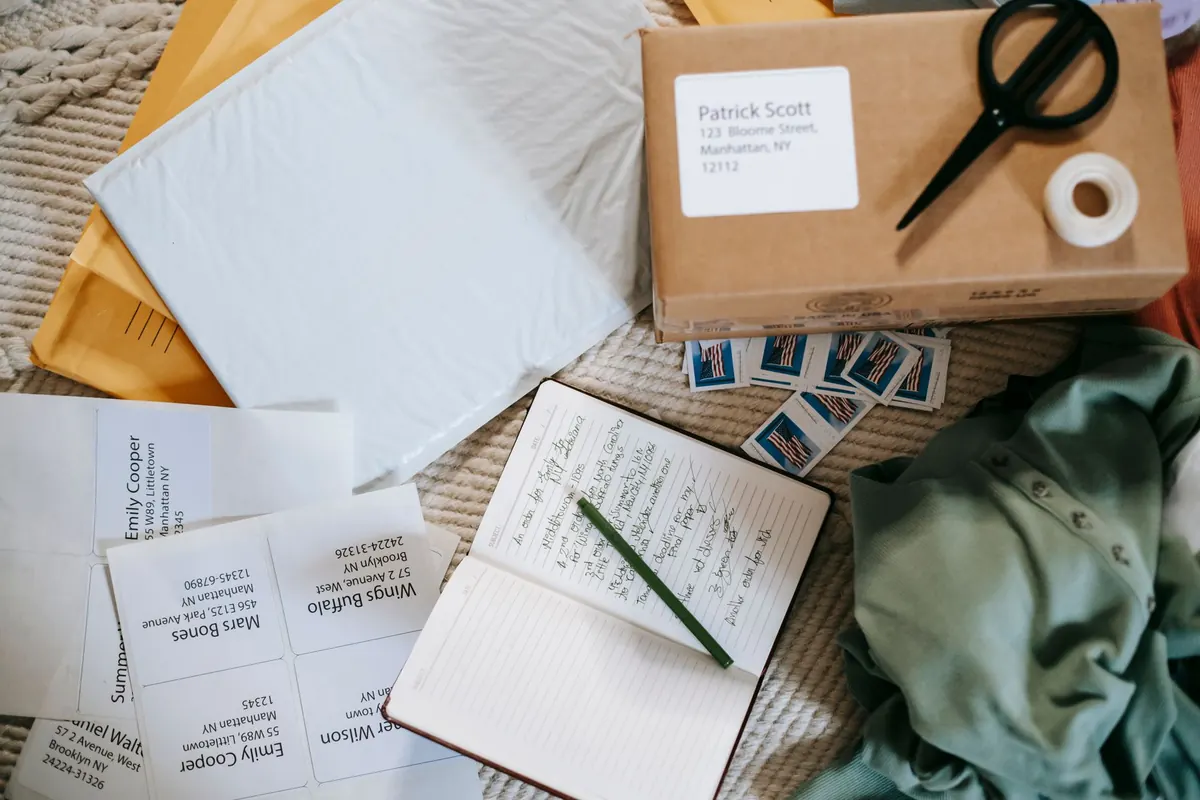
The simplest way to hold that space is to mask it. Lay a plain white label or a strip of painter's tape over the address area and build your artwork around it. When you pull the mask off, you have a clean rectangle that reads as a deliberate design choice rather than a gap. If you intend to write the address by hand instead of using a label, mask a little more generously than you think you need, then trim the edges of your collage back with a craft knife until the clear space looks intentional.
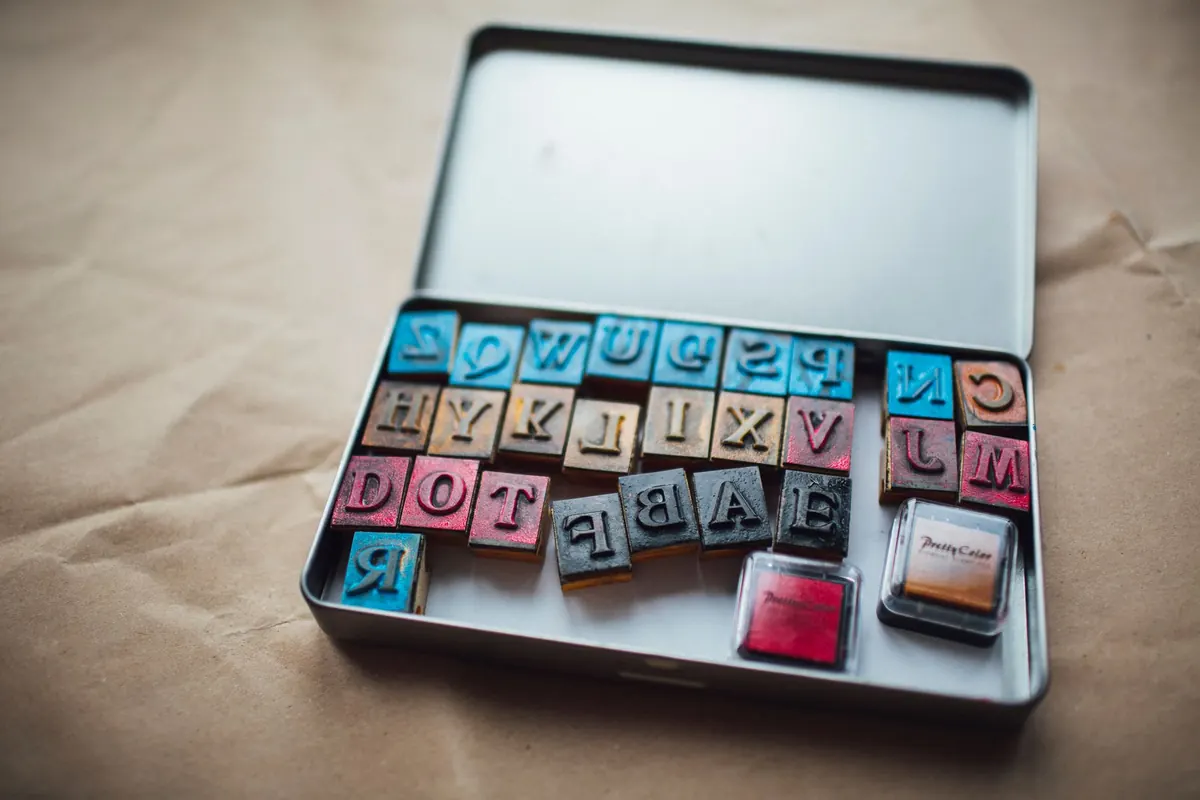
Ink is unforgiving. Test every pad on a scrap of the same envelope stock before it touches your finished collage, and note how long it takes to stop smudging. Dye inks sink into paper fast and suit fine detail. Pigment inks sit on the surface and give you opaque coverage but need longer to dry. Solvent-based inks are the ones to reach for if your collage includes coated paper, tape, or anything slick.
Stamp around the address zone rather than through it. Cluster impressions along the edges, let one run off the side of the envelope, rotate a single stamp in a slow arc across the lower left. Repeating one image at different angles usually looks more considered than mixing six different stamps, and it keeps the front from turning into noise.
Stamp an image onto a scrap of thin paper, cut it out closely, and you have a reusable mask. Lay it over an area you want to protect, stamp over the top, then lift the mask away. This is how you get overlapping images without mud, and it lets you carry a stamp pattern right up to the edge of the address block without ever crossing into it.
For a softer, more textured look, try second-generation stamping: press the stamp onto scrap paper first, then immediately onto the envelope. The impression comes out faded and broken, which layers nicely under crisper marks.
Once the artwork is dry, seal it down. Brush a thin coat of diluted PVA or matte medium over the whole collaged area — one pass, no puddling — and let it cure completely. This locks down every torn edge and gives the surface a slight tooth that resists scuffing as the envelope travels.
Check the basics before you write anything:
Write the address last, in black or dark blue ink, in clear block letters. A printed label is perfectly acceptable and often looks better than handwriting on a busy collage — the crisp white rectangle becomes part of the composition. If your local postal rules matter to you, check them rather than assuming; requirements for address placement and clear zones vary from country to country, and a two-minute check at the counter saves a returned envelope.
Drop it in the box, or hand it to a clerk and ask for it to be hand-cancelled if the art matters to you. Then let it go. Half the pleasure of mail art is that it arrives scuffed, postmarked, and slightly changed by its journey — proof that a decorated envelope is not a fragile object but a working one.
Photo: min o / Pexels